Before using the Supplies feature, you must first update the Supplies “Settings” page. Here, you can input what supplies may be ordered, what suppliers the supplies come from, the various supply inventories that exist in your company, etc.
To get to the Supplies “Settings” page:
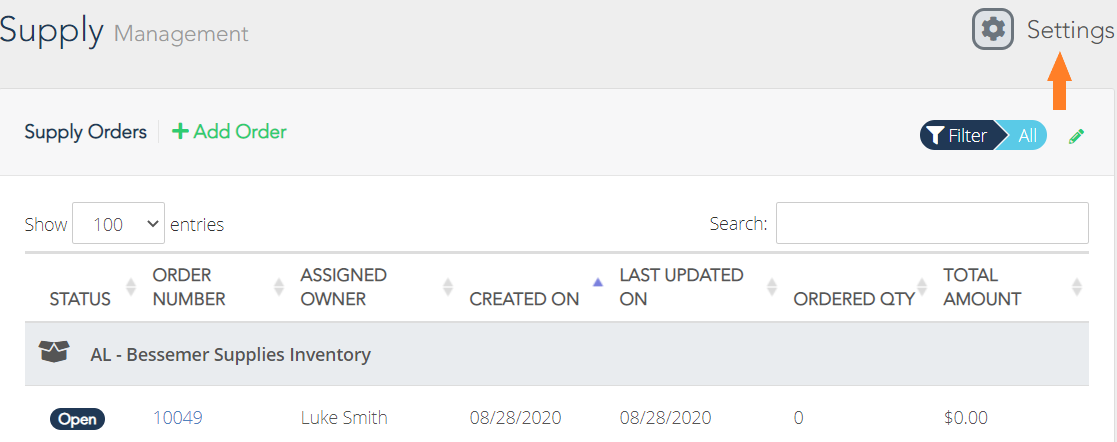
- Click “Supplies” under the Management menu.
- Click “Settings” in the upper right-hand corner.
“Inventory” Tab
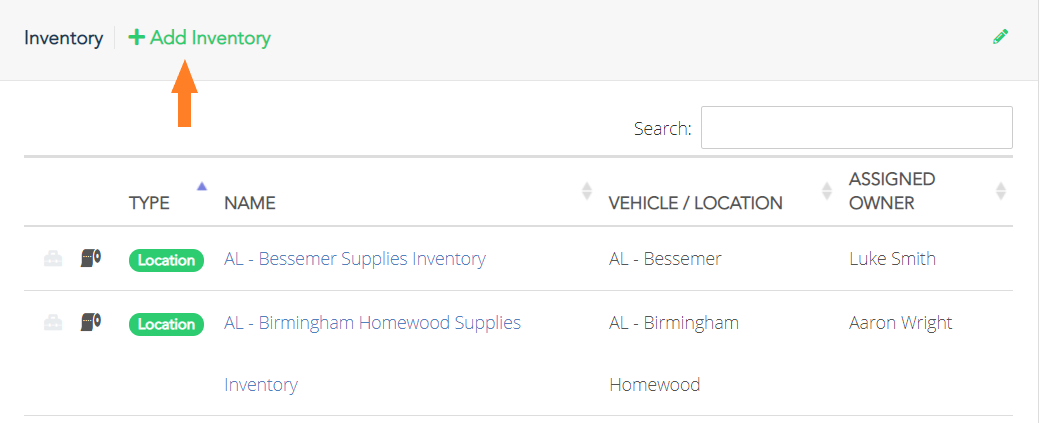
On the “Inventory” tab of Supply “Settings,” you can add an inventory or manage an existing inventory.
To add a supply inventory:
- From the “Inventory” tab, click “+ Add Inventory.”
- Select the inventory type.
- If you select “Location,” you will be asked to select a location that houses this inventory then name the inventory.
- If you select “Vehicle,” select the vehicle that houses this inventory then name the inventory.
- Enter the name and description of the inventory.
- Select the owner of the inventory (i.e., the person who manages the inventory and will place supply orders for it).
- Click the green “Add Inventory” button.

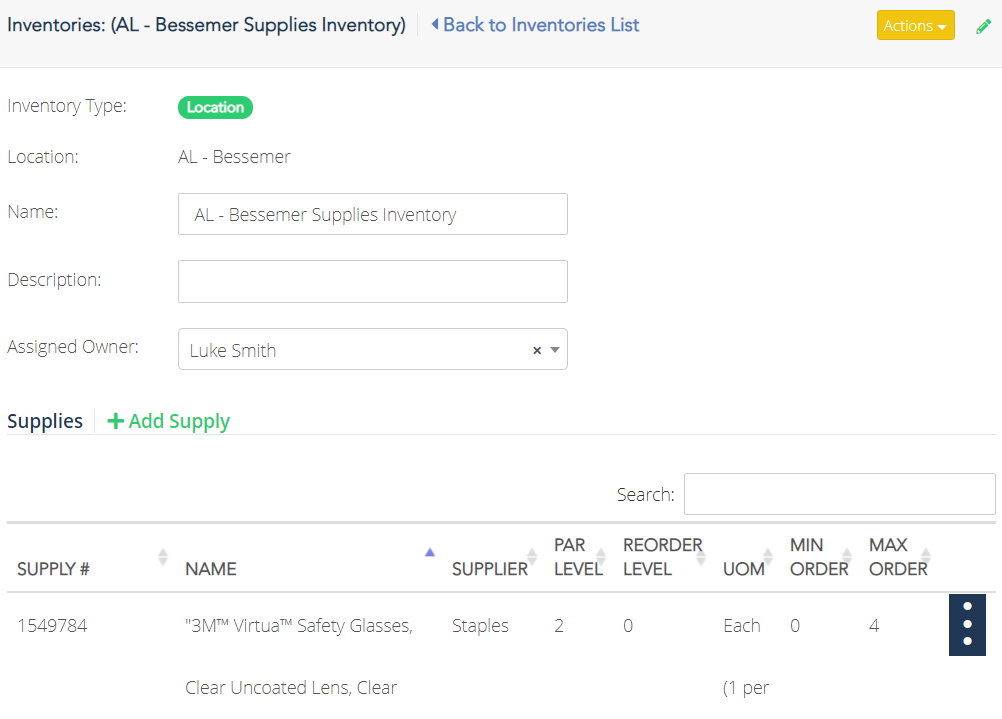
To manage an inventory, click the inventory name when on the “Inventory” tab of the Supplies “Settings” page. Once here, you can:
- View and update the name, description, and assigned owner of the inventory.
- Add to or remove supplies from the inventory.
- Adjust each supply’s ordering values (click on the three dots next to a type of supply and select “Update Ordering Values”):
- Par Level – This is the amount of a supply that should be on hand at all times.
- Reorder Level – If the supply is at or below this number, then it’s time to reorder the supply.
- Min Order Amount – This is the minimum amount that can be ordered.
- Max Order Amount – This is the maximum amount that can be ordered.
“Suppliers” Tab
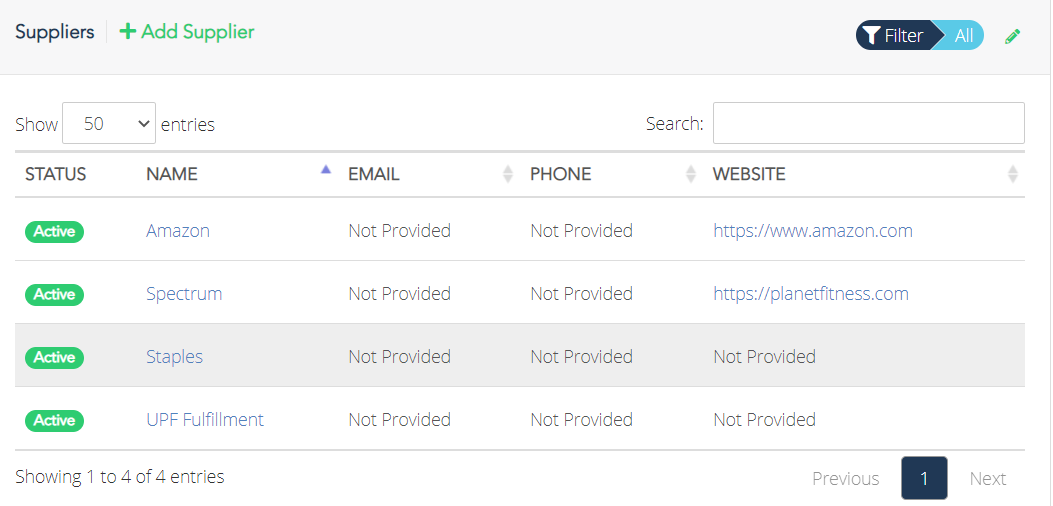
The “Suppliers” tab is where you can add new suppliers as well as manage existing suppliers. Suppliers are the companies from which you order and receive any supplies. To add a supplier:
- From the “Suppliers” tab, click “+ Add Supplier.”
- Enter the name of the supplier.
- Click the green “Add Supplier” button.
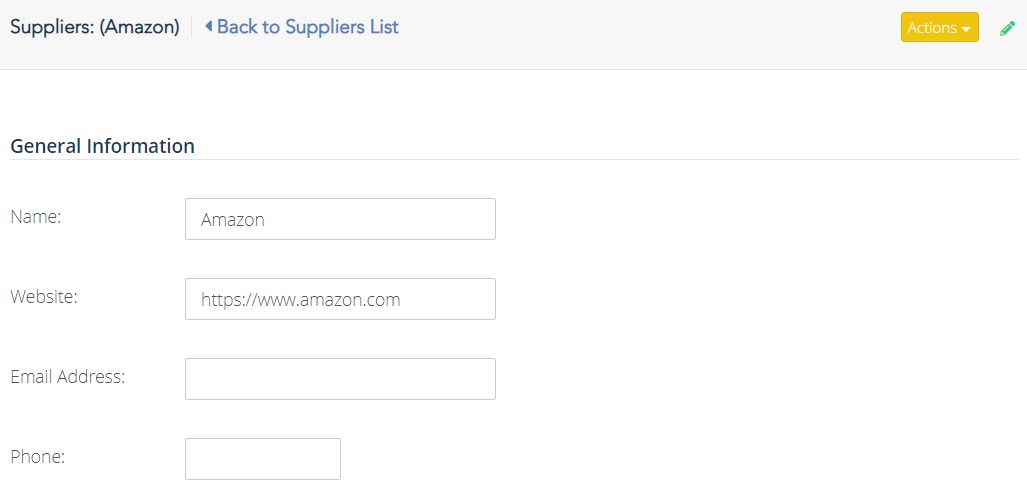
You will be taken to the supplier’s details page. Here you can provide the supplier’s website and the email address and phone number for your primary contact).
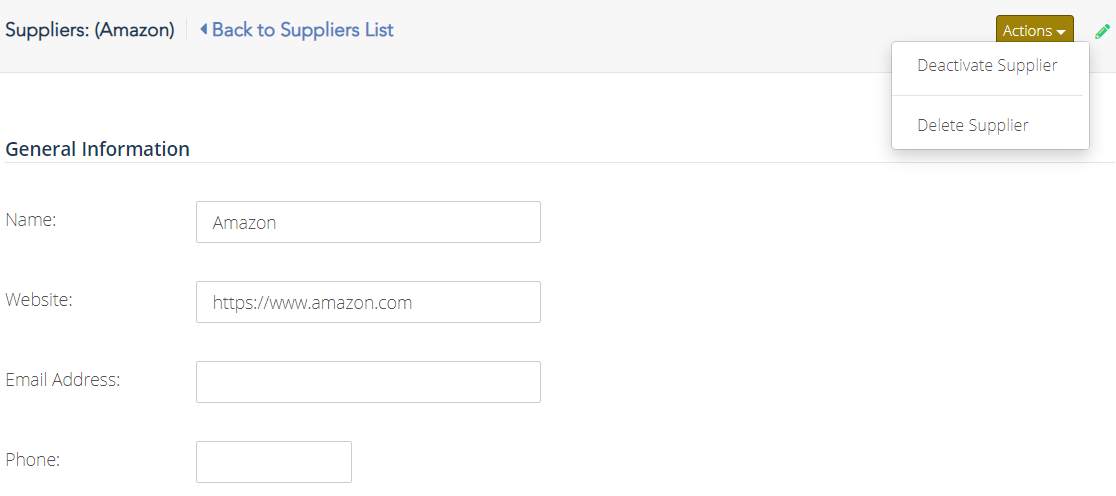
If you click the yellow “Actions” button, you can either deactivate the supplier or delete the supplier. Either option will not allow you to use them to restock your supply inventories. We suggest deleting a supplier only if it was added by mistake.
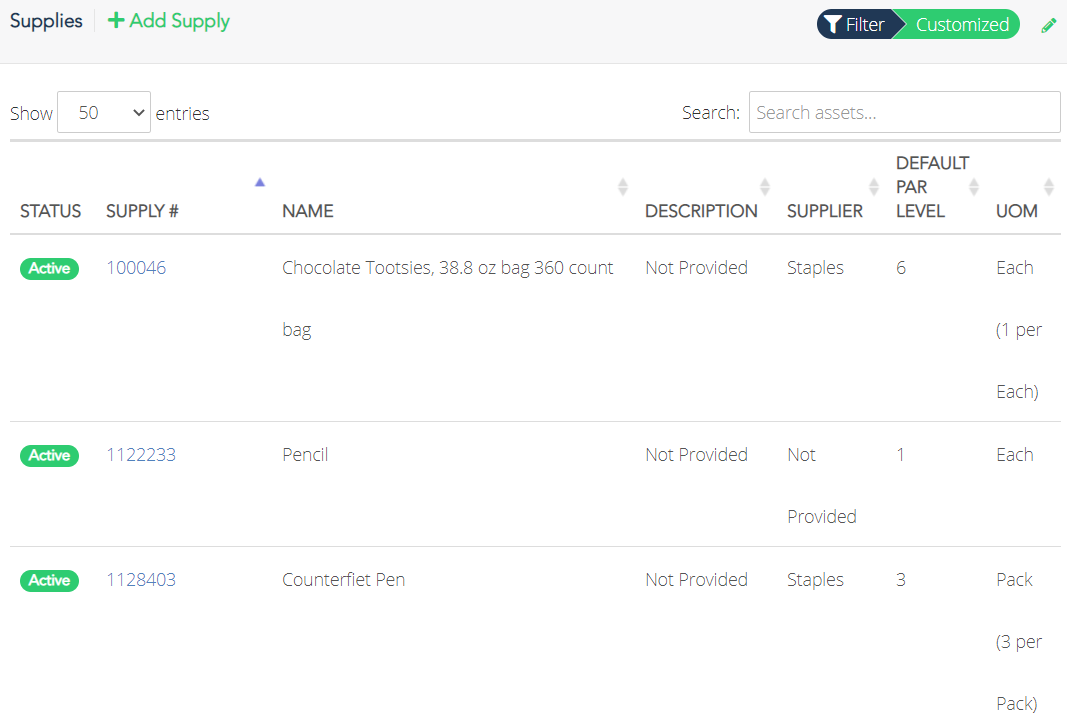
“Supplies” Tab
On the “Supplies” tab, you can add new supply items, update ordering values, and delete supply items. To add a supply item:
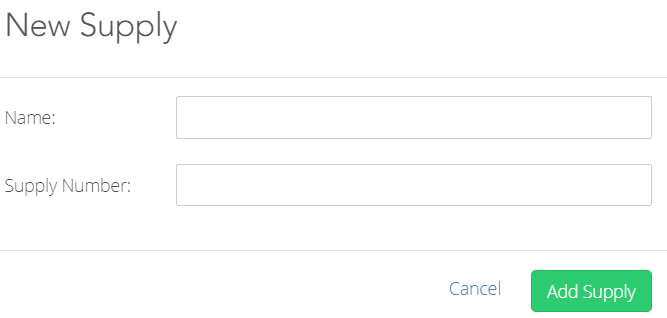
- From the “Supplies” tab, click “+ Add Supply.”
- Enter the name of the supply.
- Enter the supply number.
- Click the green “Add Supply” button.
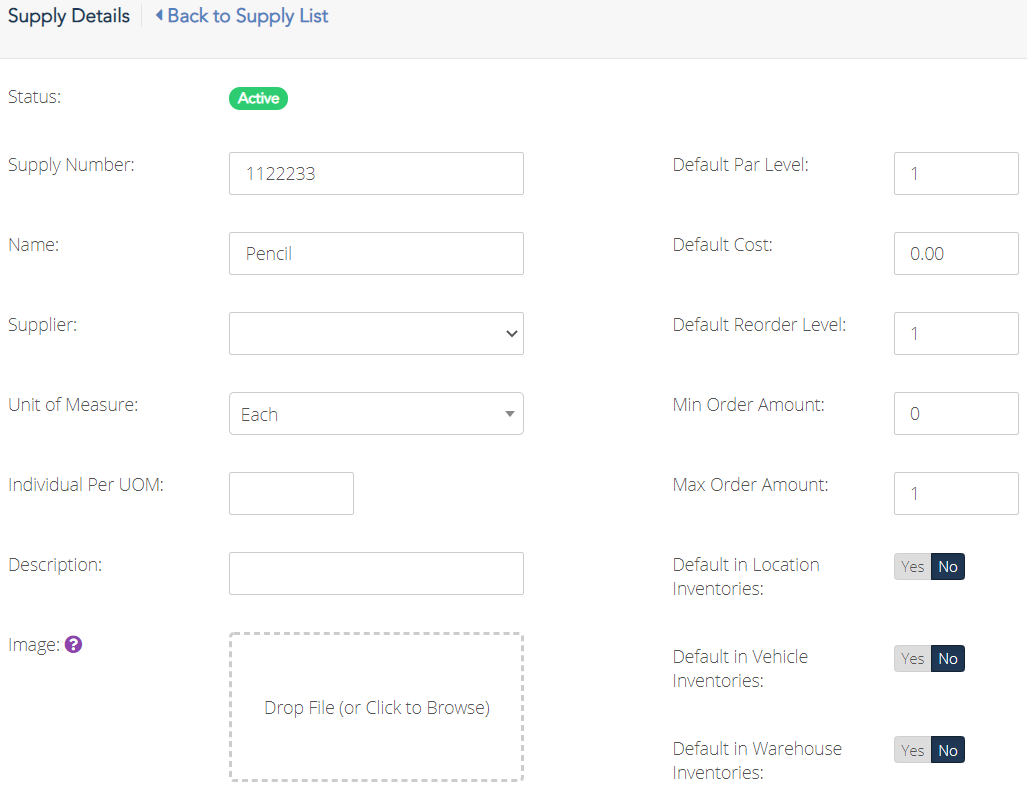
You will be taken to the “Supply Details” page for the new supply. This is where you may view and update ordering values for the new supply.
In the “Supply Details” page you can:
- View or update the Supply Number and Name
- Identify/Track the supply’s supplier, unit of measure, description, cost, and whether it can by default be ordered for Location-, Vehicle-, and Warehouse-based inventories.
- List the “Individual Per UOM” count which is the quantity of that supply that comes in it’s unit (e.g., there are 12 counts of the supply per package)
- Add/view an image of the supply
- Manage a supply item’s ordering values:
- “Default Par Level” – this is the default amount of the supply that should be on hand at all times
- “Default Reorder Level” – this is the default amount of the supply that’s on hand that would trigger someone to reorder it. In other words, if the amount of that supply on hand is at or below the number listed here, then it should be reordered.
- “Min Order Amount” – this is the minimum amount that can be ordered for a supply. (Woven will prevent the inventory manager from ordering below the minimum amount for this supply.)
- “Max Order Amount” – this is the maximum amount that can be ordered for a supply. (Woven will prevent the inventory manager from ordering above the maximum amount for this supply.)
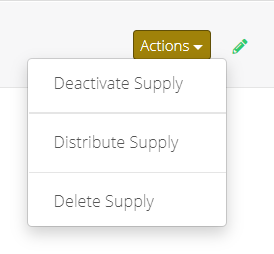
In the “Supply Details” page you are able to deactivate the supply, distribute the supply (add it as part of all appropriate inventories that do not already have this supply), or delete the supply. You can perform these actions, by clicking the yellow “Actions” button.
"Tiers" Tab
In Woven, you have the ability to update a supply inventory's ordering values (par levels, mins, maxes, etc.). Depending on your location size, you might want to change the default supply settings to reflect the needs of that location. To easily do that, you can change all the supplies at once by designating a supply tier for that location’s inventory.
Please view that Supply Tiers help article to see how to set up supply tiers in Woven.
“Configurations” Tab
On the “Configurations” tab, you can further customize how supply orders work for your company. You can use the configurations to simplify the supply order process as well as order by quantity on hand.
- To enable “Use Simple Statuses,” click the “Yes” toggle. This configuration reduces the number of possible ordering statuses to just “Open” and “Closed” statuses. Enable this feature if you don’t need to track supplies before they’ve been shipped when they’ve been shipped, and once they’ve been received.
- To enable “Order by Quantity on Hand,” click the “Yes” toggle. When enabled, the inventory owners enter the quantity on hand for each supply when filling out an “Open” Supplies order. Woven then suggests the amount to order for that supply.
- To enable “Allow Over Max Order Amount,” click the “Yes.” This configuration will allow users to order over the max amount for a supply in an open supply order.
TROUBLESHOOTING: To ensure that the quantity on hand configuration works, all supply items need to have properly-configured Par Levels, Reorder Levels, and Mins, and Maxes.

Comments
0 comments
Please sign in to leave a comment.