The “Manufacturers” tab is where you will enter the manufacturers of the assets at your locations as well as any information about those manufacturers. To add a manufacturer:
- Click “Assets” under the Maintenance menu.
- Click “Settings” in the right-hand corner.
- Click the “Manufacturers” tab.
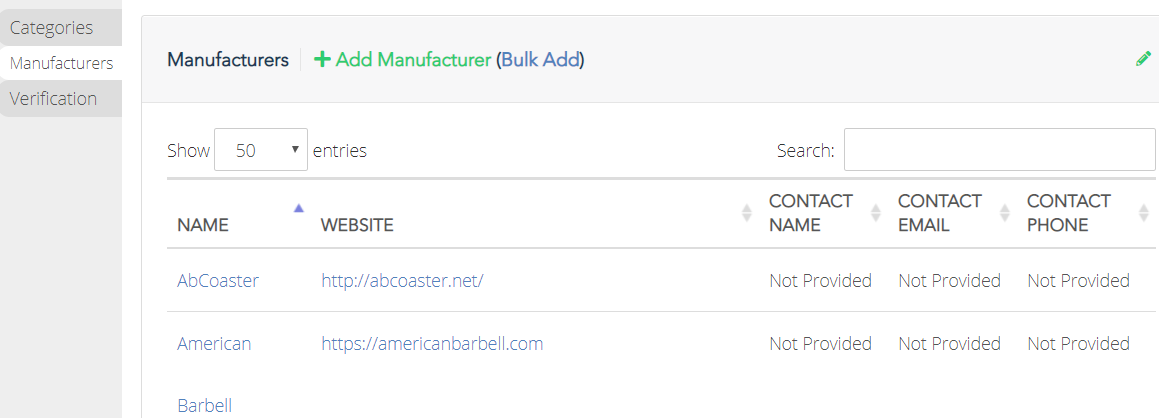
- You can either click “+Add Manufacturer” or “Bulk Add” to add multiple manufacturers at once.
Adding a Manufacturer One at a Time
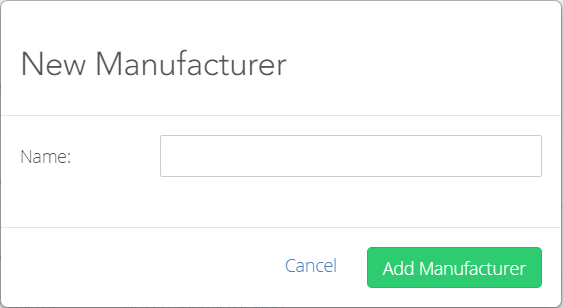
Click “Add Manufacturer” and a pop-up window will ask you to enter the manufacturer name. Once you have done that, click the “Add Manufacturer” button. You will be taken to the newly created manufacturer’s page.
Adding More Than One Manufacturer at a Time
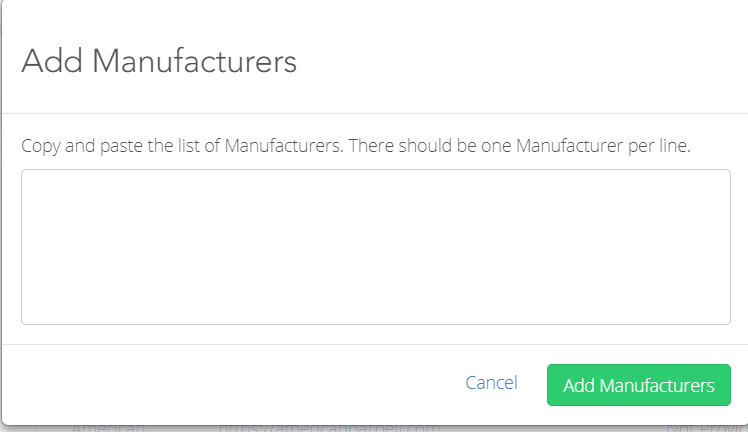
Click “Bulk Add” and a pop-up window will ask you to copy and paste the list of manufacturers into a free text box. There should be one manufacturer per line. To complete the setup for each manufacturer, you will need to click into each one and update its information.
Adding General Information for Each Manufacturer
- Click into the manufacturer you want to update.
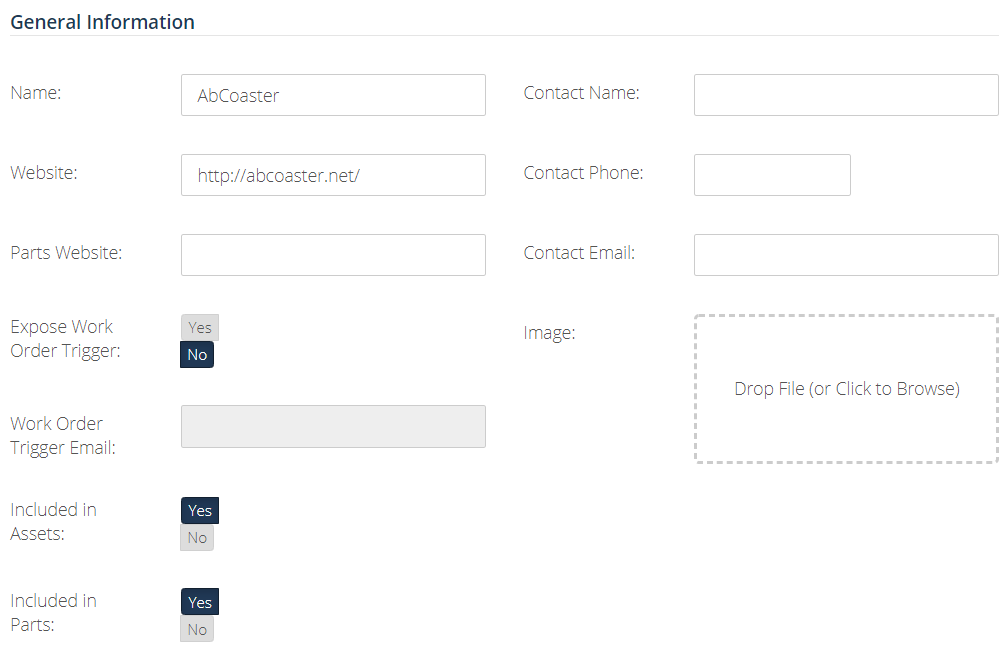
- Enter the manufacturer’s name.
- Enter the manufacturer’s main website and its website for parts.
- Indicate if this manufacturer is “Included in Assets.” This toggle controls whether you can select this specific manufacturer when adding an asset. If the toggle is marked “no,” then this manufacturer will not be an option when adding an asset.
- Indicate if this manufacturer is “Included in Parts.” This toggle controls whether you are able to select this specific manufacturer when adding a part. If the toggle is set to “no,” then this manufacturer will not be an option when adding a part.
- Add the contact name, phone, and email for the manufacturer representative
- Add the manufacturer’s logo to “Image.”
Adding Manufacturer Models
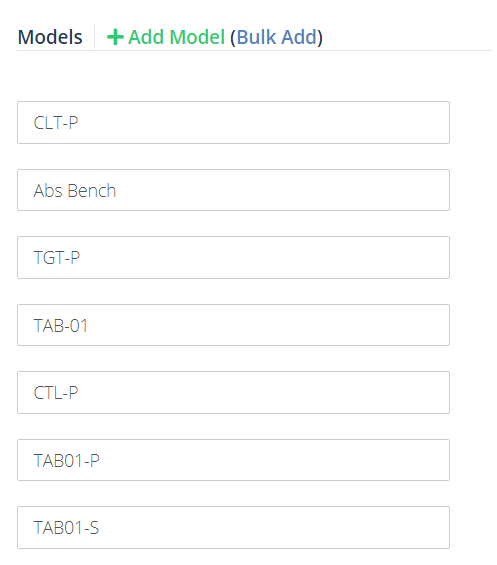
If applicable, you may add the manufacturer models that make up your locations’ assets. To do this, click either “+Add Model” or “Bulk Add”
- If you clicked “+Add Model” a free text box will appear under “Models.” You can enter the name of the model. Each time you click “+Add Model” a new text box will appear below the previous text box that was added.
- If you clicked “Bulk Add,” a pop-up window will ask you to copy and paste the list of models into a free text box. There should be one model per line. Click the “Add Models” button when done.
Adding Manufacturer Styles
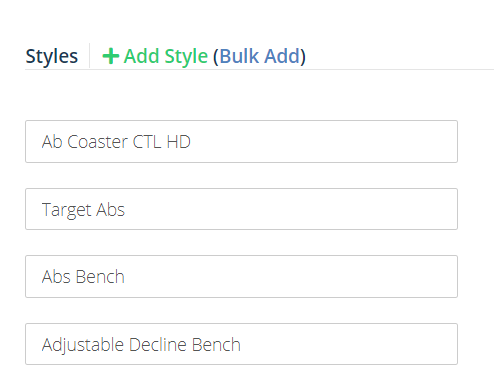
If applicable, you may add the manufacturer styles that make up your locations’ assets. To do this, click either “+Add Style” or “Bulk Add”:
- If you clicked “+Add Style” a free text box will appear under “Styles.” You can enter in the name of the style. Each time you click “+Add Style” a new text box will appear below the previous text box that was added.
- If you clicked “Bulk Add,” a pop-up window will ask you to copy and paste the list of styles into a free text box. There should be one style per line. Click the “Add Styles” button when do
Adding Asset Categories
Next, you will want to add at least one Asset Category that describes the kinds of assets in use at your locations and that are produced by this manufacturer. To add a category:
- Click “+Add Category.”
A pop-up window will display, giving you the ability to select a category and add an image for this manufacturer.
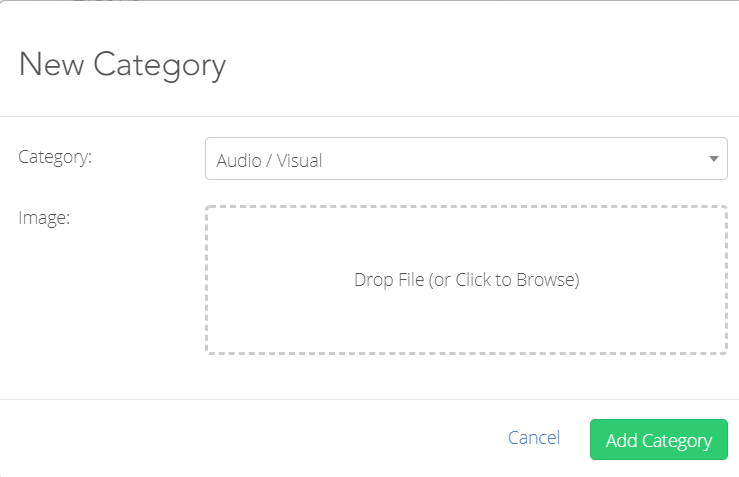
- Select the category that assets produced by this manufacturer fall under.
PRO TIP: You can have multiple categories associated with a manufacturer, so list all the categories for the assets produced by this manufacturer in this field.
- Optional: upload an image of an asset made by this manufacturer and of this particular category.
- Follow the above steps to add more categories to this manufacturer.
Adding a Warranty Template
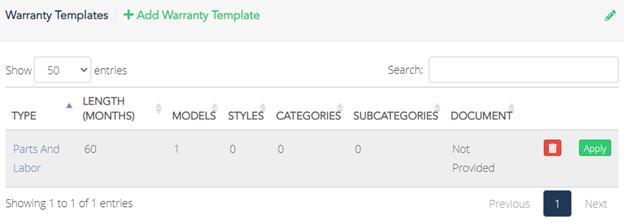
Finally, you can add a “Warranty Template” to this manufacturer. A “Warranty Template” is a general warranty that can be applied to multiple similar assets under the selected manufacturer. For instance, you can add a warranty covering parts and labor for any assets produced by this manufacturer along with the defined models, styles, categories, and subcategories. Adding a warranty template is not required when creating a manufacturer. To add a warranty template(s):
- Click “+Add Warranty Template”
- Select the type of warranty.
- Enter the length of the warranty.
PRO TIP: The more you define an asset from a particular manufacturer, the more selective the warranty becomes.
- Select any models, styles, categories, and/or subcategories that this warranty applies to (these fields are optional).
- You can add the warranty document by dragging and dropping the file into the “Drop File” box or by browsing your computer and uploading the file.
To submit the warranty template, click the “Add Warranty Template” button.

Once a warranty template has been added to Woven, you can add it to all assets that fit the requirements for the template. To bulk add the template, hover over the newly added warranty template and click the green “Apply” button, not the red trash can button. A pop-up will appear and let you know how many assets this template will be assigned to.
Comments
0 comments
Please sign in to leave a comment.